Filter Solution
Reviewed and Updated April 16, 2024
Syringe Filters Are Fragile. It is easier to break syringe filters than you think. Really. They’re difficult to push the preparation through which leads to overcompensation. We highly recommend that you practice using a syringe filter and then preform a bubble point test on it to determine if you broke it or not. Do this with a mixture similar to your final preparation (e.g. 2% BA, 44% BB, 54% MCT), just without the hormone component. If you’re planning to make a 50mL batch, practice with 50mL. Practice enough so that when you’re doing the real thing you can be more confident you’re not going to break it. If you break the filter during the real thing all of your solution will need to be refiltered.
Verify Syringe Filter is the Correct Size. Verify what volume of liquid your filters are rated to work on. Do not exceed the manufacturer’s recommendation. In general if you’re filtering 1-10mL, use a 13mm filter, 10-100mL use a 25mm filter, 100-250mL use a 33mm filter1. So for example, if you have 25mm syringe filters, and you’re filtering 250mL of your preparation, you’re going to need to use 3 filters in total. Pushing syringe filters sucks. If you’re working with too much preparation for this to be practical consider switching to a vacuum pump and bottle top filters. We are unclear on how to conduct DIY bubble point tests on bottle top filters, and in general we don’t recommend these unless you have a laminar flow hood.
Why do we filter into 100mL vials? The reasoning is that it exposes your preparation to as little un-sterile air as possible. If you’re filtering directly into your final vials, and then capping them, they’ve been exposed to air and dust and bacteria for over a minute due to how slow syringe filters work. With this method we can have our sterile empty vials exposed for around only 5 seconds.
Why don’t we use bottle top filters? Similar to the point above, bottle top filters require us to filter into a flask that is open to the air. This isn’t a problem if we have a laboratory grade flow hood or clean room, but since this guide is meant to be followed in your (very clean) kitchen, we prioritize sterility over efficiency.
You should be working inside your still air box or professionally made laminar flow hood. Your hands/gloves/etc and everything need to be fully clean. We lightly spray our gloves with IPA 70% and rub together to sanitize.
At this point your glass vials and the vial stoppers should still be wrapped/covered after their depyrogenation/sterilization process.
Attach a fresh needle to a large2, fresh/sterile syringe. Insert into the mixed solution and draw it up. With clean hands remove the needle and attach a sterile syringe filter to the syringe and a new, sterile, large gauge needle on the end of the filter.
Grab your pre-sealed, pre-sterilized 100mL vial, wipe off the top with a sterile alcohol prep pad, and puncture it with the needle coming off the syringe filter. You will also need to puncture it with a second, fresh needle to allow air exchange. SLOWLY push down on the syringe, careful to not push harder than necessary to create a steady drip of filtered preparation.
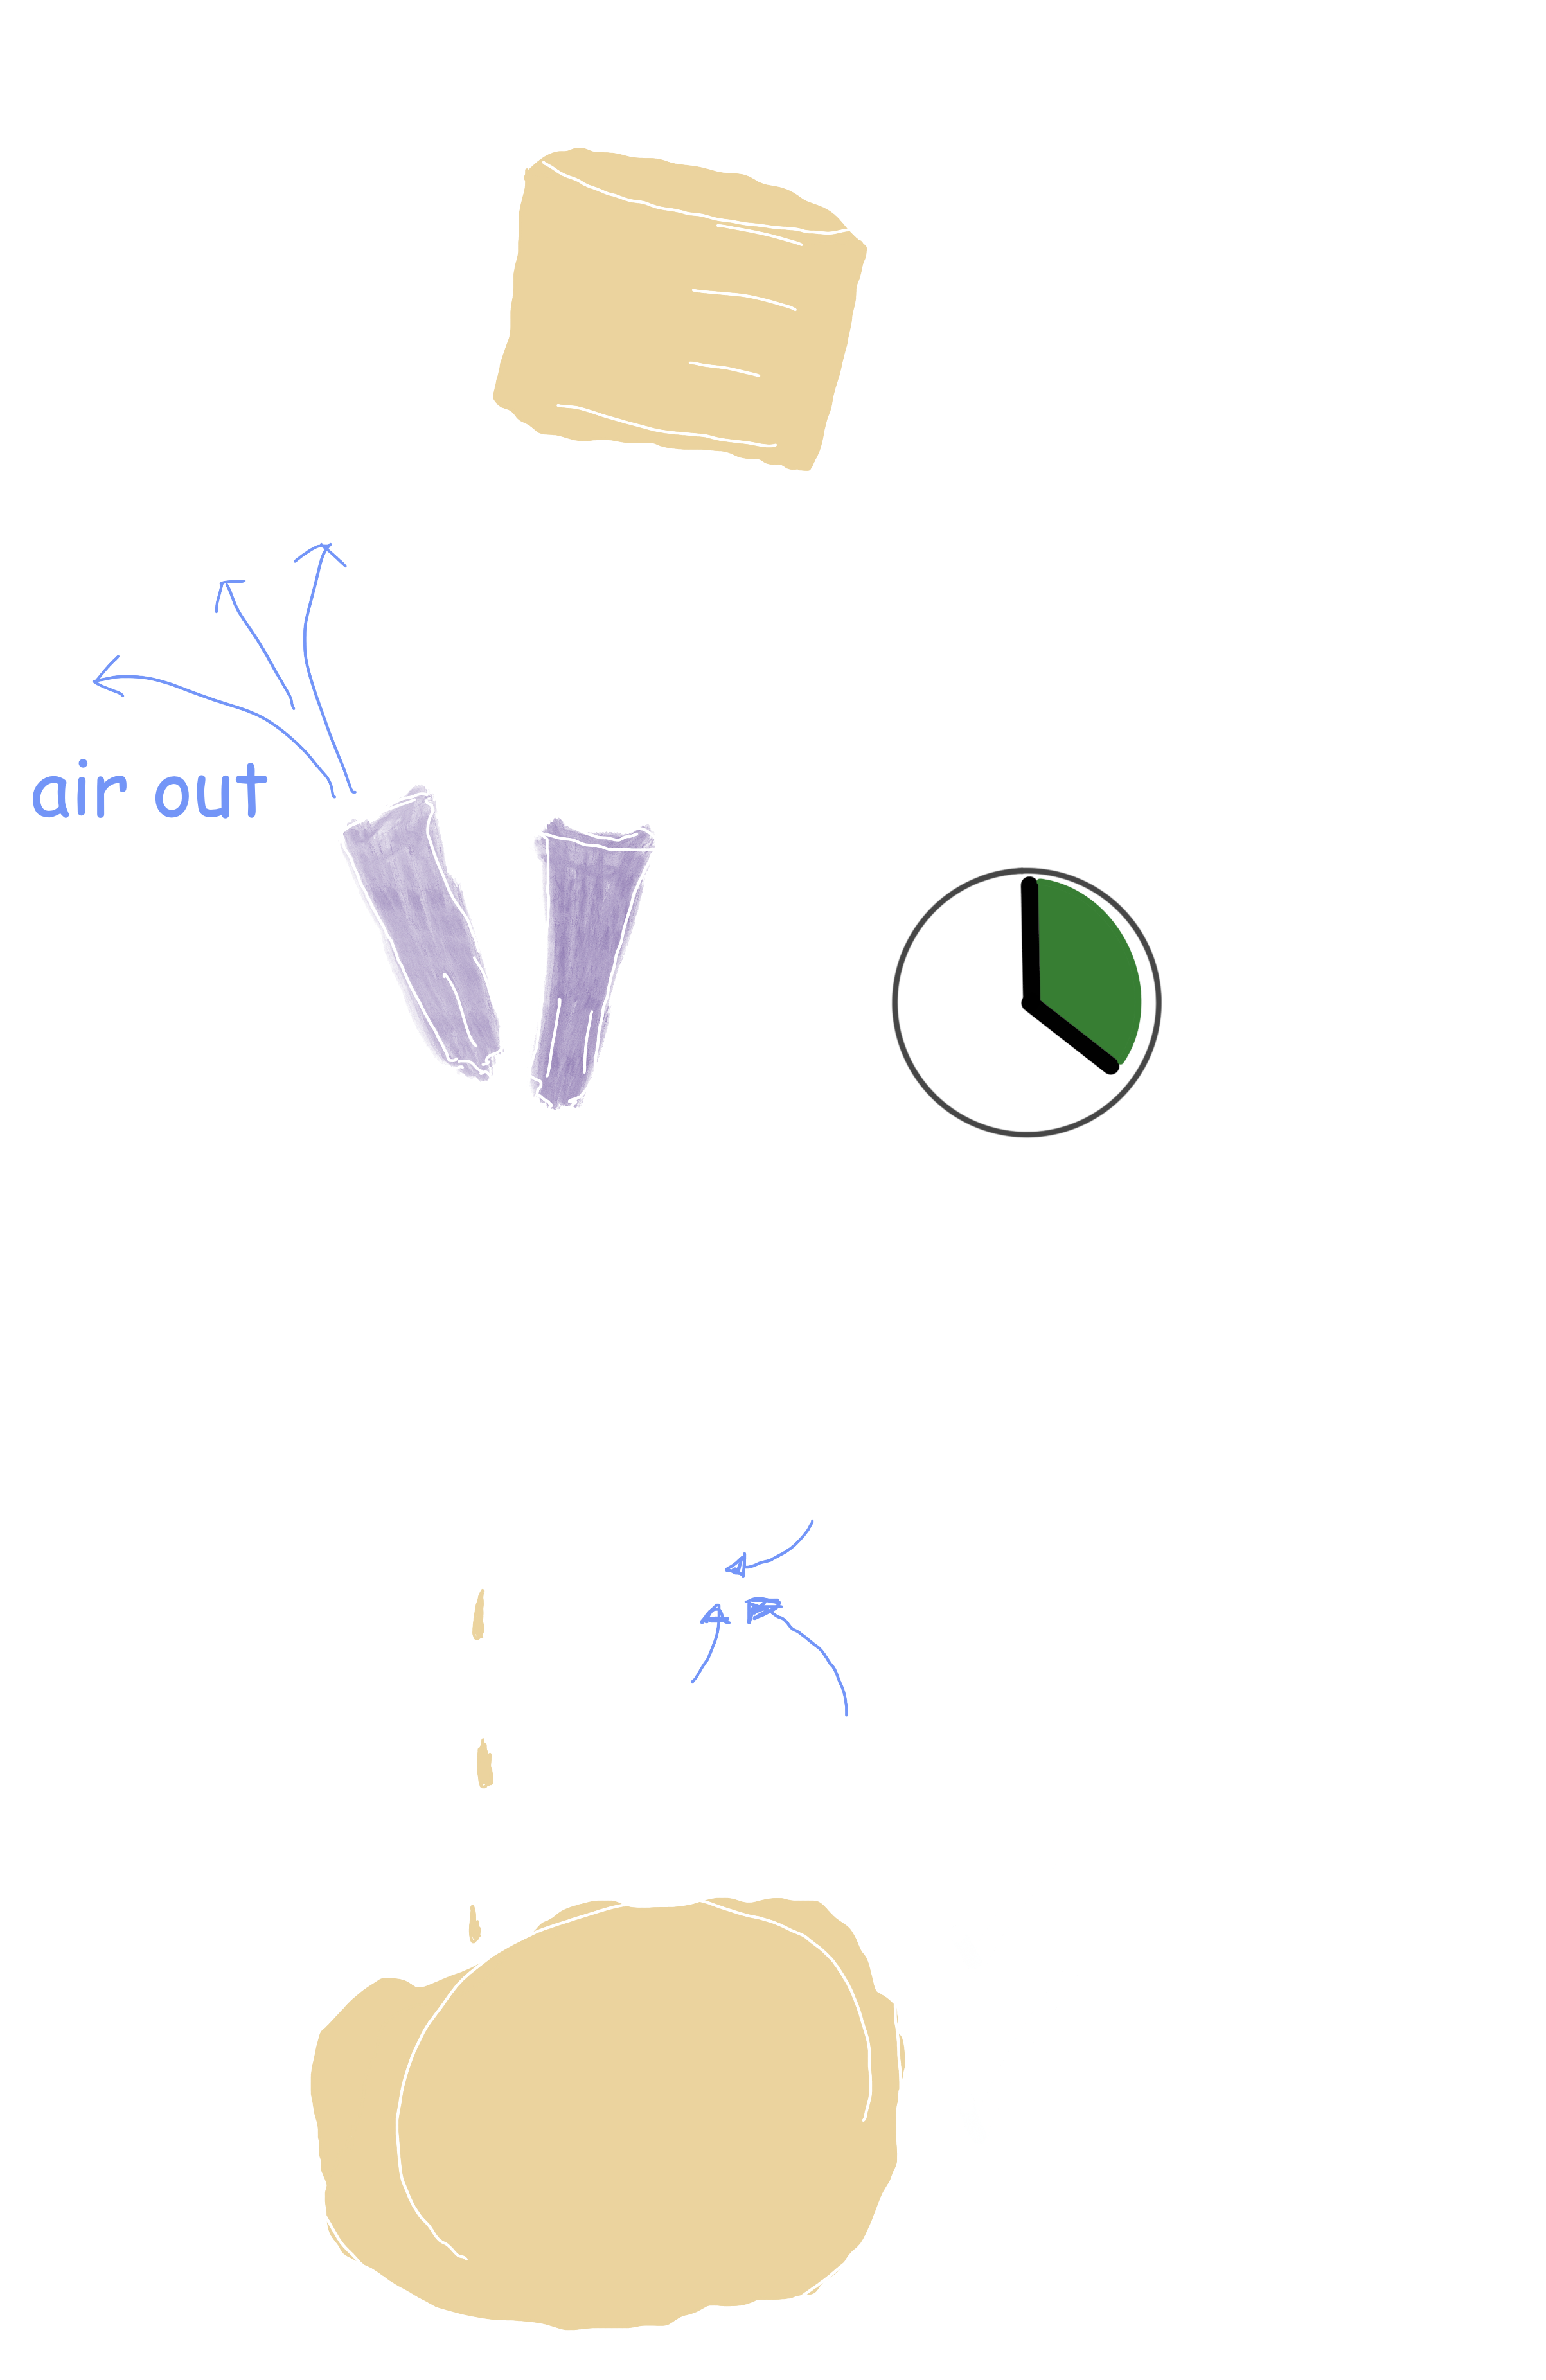
This is going to take a while. After you’ve emptied your entire syringe into the vial, IF you’re going to immediately keep filtering, we’ve found it best to leave BOTH needles and the filter attached to the 100mL vial, but to disconnect the syringe at the filter. Then (with clean hands and a new needle) you can fill your syringe back up, reconnect to the filter, and keep going. Remember to check the capacity of your filters so that you know when to change them.
Once you’re done, or if you’re taking a break, withdraw the needles. We think it is likely not ideal to leave a sterile syringe filter laying around that’s not in active use, so try not to take breaks. Once you do resume from a break be sure to switch to fresh needles.
The beauty of this method is that as you filter your preparation, it is immediately protected and stored in a sterile container with no open air exchange (just the exhaust).
You can spend your afternoon doing this, filling as many 100mL vials as you desire. We find that a 20mL syringe takes roughly 30 minutes to filter.
A couple notes:
- Every time you finish using a syringe filter, do a bubble point test on it BEFORE moving on to filter another batch. This can help you catch any flaws in your filtration earlier. We’d much rather find an issue with our filtration after filtering 40mL as opposed to 100mL.
- Every syringe filter you use should have its filtered product separated from product that different filters were used on (i.e. don’t use multiple filters on the same 100mL vial). We need to preform sterility testing on the product that came out of EACH individual syringe filter.
- Label the 100mL vials as you go with the order that you produced them. Track this alongside the filters that were used for each one and the bubble test results of each filter.
- You can store your preparation in the 100mL vials overnight. We do not recommend storing like this for more than 24 hours considering the vial is punctured.
Navigation
← 5. Mix the Solution 7. Bubble Point Testing →
References and Notes
-
How to Select a Syringe Filter and How to Use it? (2020 Guide) ↩
-
use something in the range of 10mL to 50mL. Word has it that the syringe gets more difficult to push the solution through the filter the large the syringe is. We haven’t tried it ourselves. We like the 20mL syringe. ↩